
Test of Chacon CH54730 doorbell
 There are multiple wireless doorbells on the market with very competitive prices. There are few however that are using a protocol enabling us to integrate in home automation ecosystem. The Chacon CH54730 doorbell is one of the latest, thanks to its Chacon DIO protocol. It’s then compatible with several smarthome controllers. I had an opportunity to test it, thanks to Domadoo.
Overall presentation
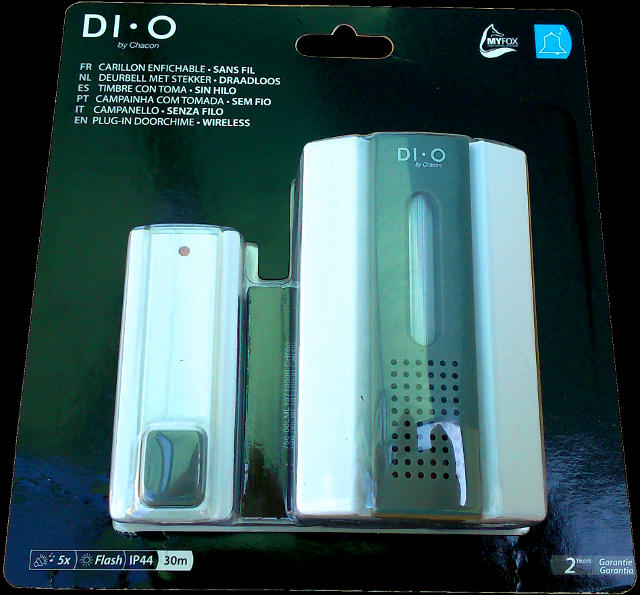
The kit contains those elements :
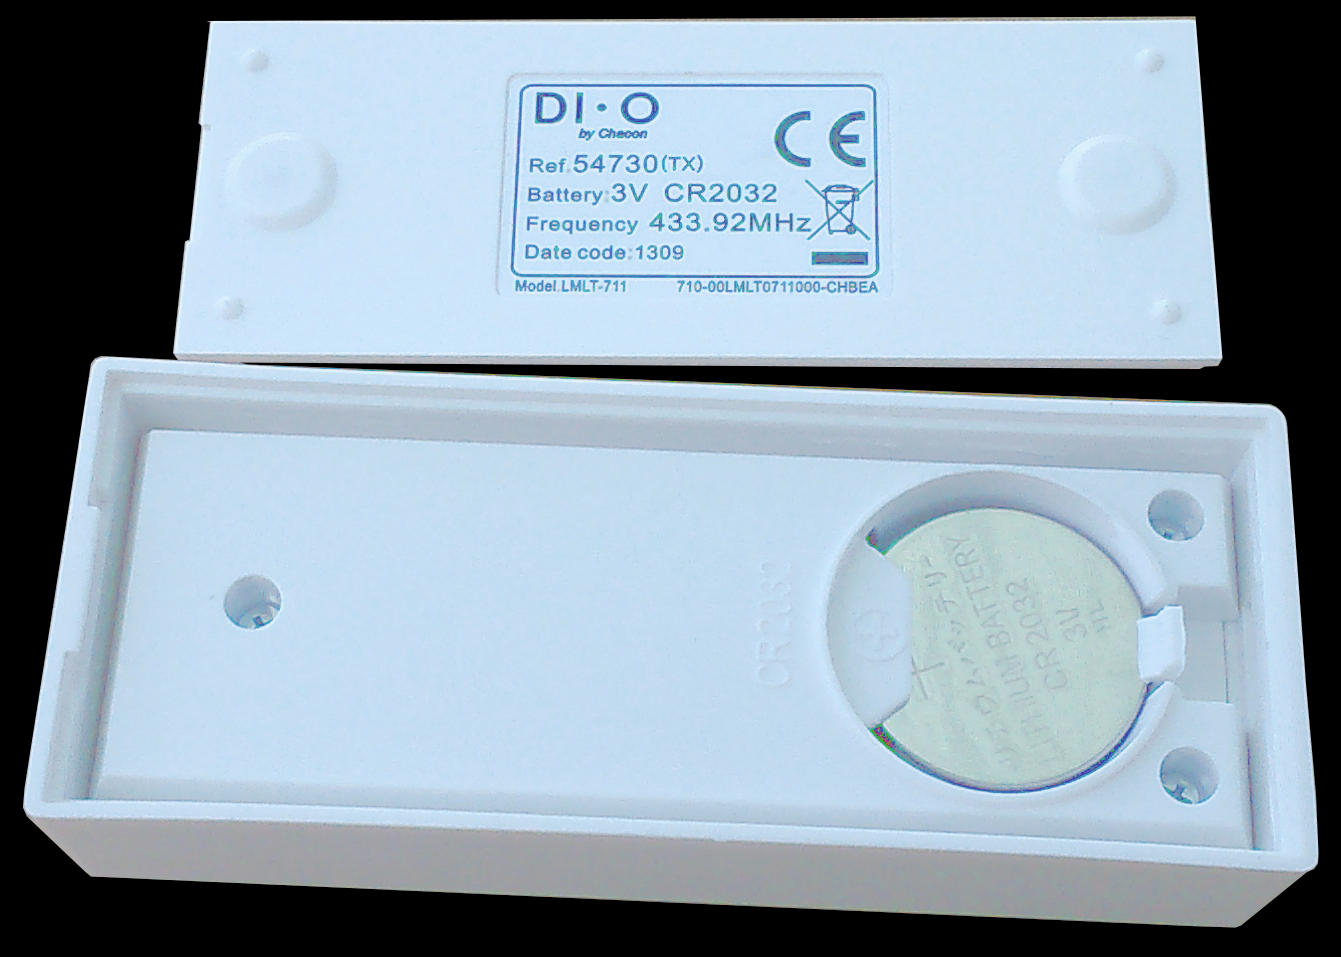
- the doorbell button powered by a pre-installed CR2032 battery
- the receiver plugged in a mains outlet
- a user guide
- screws and double-sided sticker to fix the button
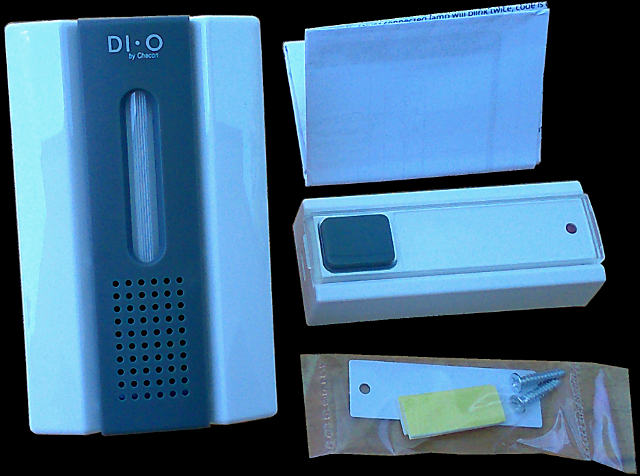
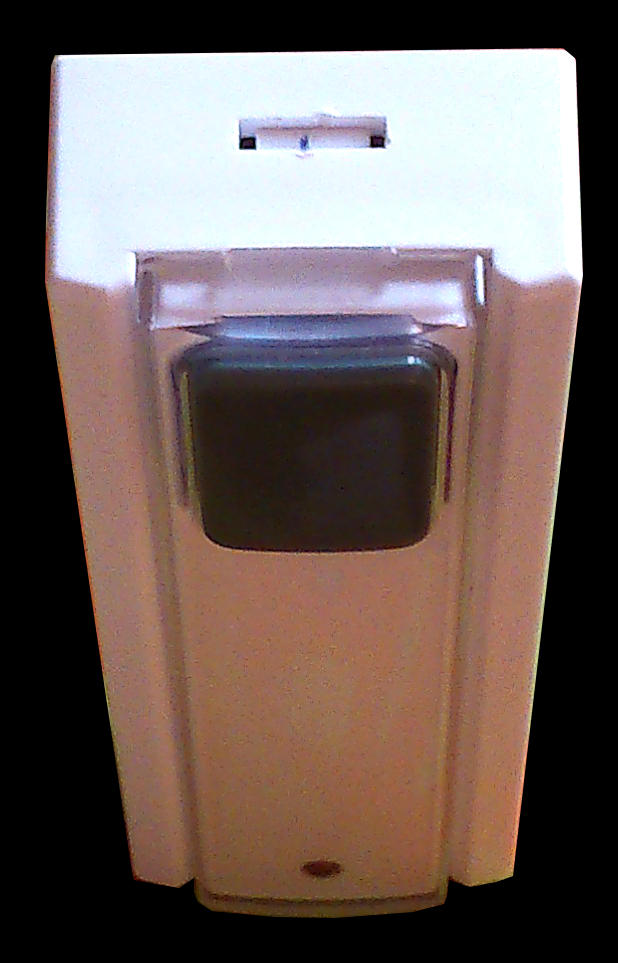
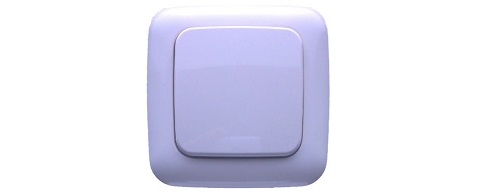
The doorbell button has a rather banal and unwelcoming design. The finishing is average, we’ll speak about it later.
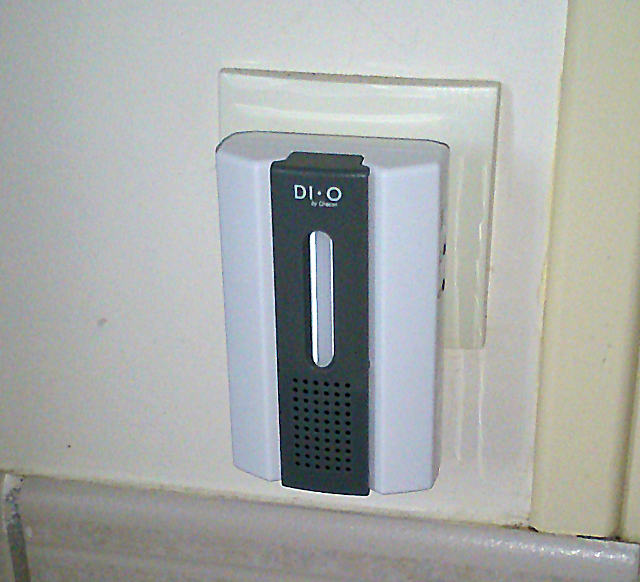
The receiver’s design is classical but its bicolor plastic is adding something to it. Cheerfulness is not present here (white and dark gray color), but the finishing is correct for this element. It also includes a front vertical window which is a lighting up when a ringing is activated.
Why should I integrate a doorbell in a home automation system ?
Irritated during an interview with my electrician, I will first give some ways to use this device :
- such a doorbell can easily control multiple receivers. It is therefore possible to have multiple ringers at different location of a house. It can be useful for large houses or those having outbuildings.
- you can enable or disable the bell depending on the day and time. Very convenient for people working during night and who don’t want to be woken up at 10am.
- Avoid jokers who are ringing during the night (bell activated only during the day)
- Be alerted of another event : opening of the rear door , opening of a garage, etc. …
- In the case of hearing impaired people, visual alert could be used to warn of a danger or whatever event.
- For hyper-connected people : be alerted of an email, a call, an important tweet …
- button can be used indoor or outdoor to run any kind of script on a smarthome controller.
However this button does not act as a traditional standard DIO switch : it’s not possible to control directly an ON/OFF module.
To summarize, the two parts can be seen separately :
- doorbell Button: cheap wireless button
- receiver: audible and visual alert triggered by the doorbell, but also directly by any other DIO device , or any part of your home automation system by using a controller as a gateway.
Here are only few examples, you can imagine your own way of use !
Product design
I’m not going to dwell on the receiver part which can’t be opened easily to study it. It shouldn’t, and can’t, be used in rainy and windy location, it must stay in a room.
The doorbell button is located outside and must support weather constraints. For that, it is IP44 certified, so it’s protected against splashing water. This is a minimal requirement for this type of device, I would have preferred an IP65 certification, then a protection against dust and water jets.
In addition, there is a limitation : IP44 certification is ensured only if the button is mounted vertically!
This limitation is a consequence of its design :
 |
 |
 |
 It attaches to the rear plastic cover, all being blocked by a pin on the side of the bell. So there is a hole through which water could flow. This hole must be necessarily located at the bottom to prevent seepage. One can also put silicone in this hole to seal it, until you have to change the battery …
This limitation is still annoying, especially if you don’t read the instruction sheet : you should end up with a very short lifetime button. Other wireless doorbells, even in this price range, are using other types of mechanical assembly to prevent those problems (translucent cover, snapping around the entire button to seal it).
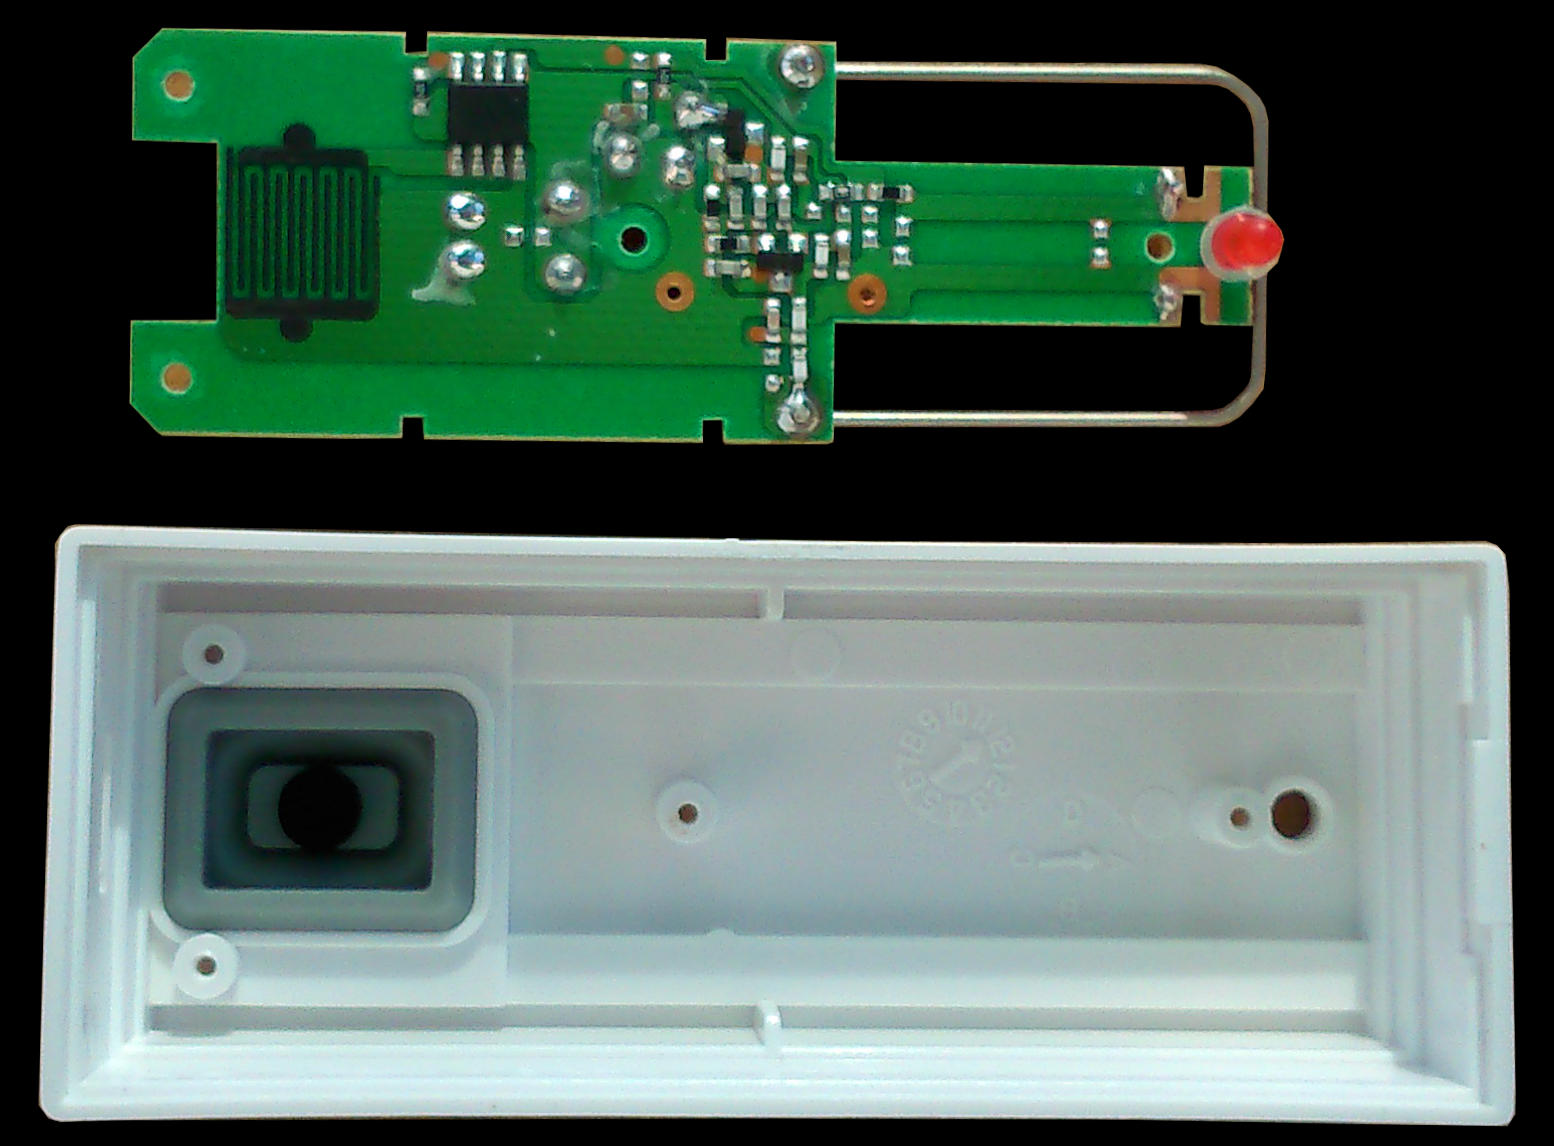
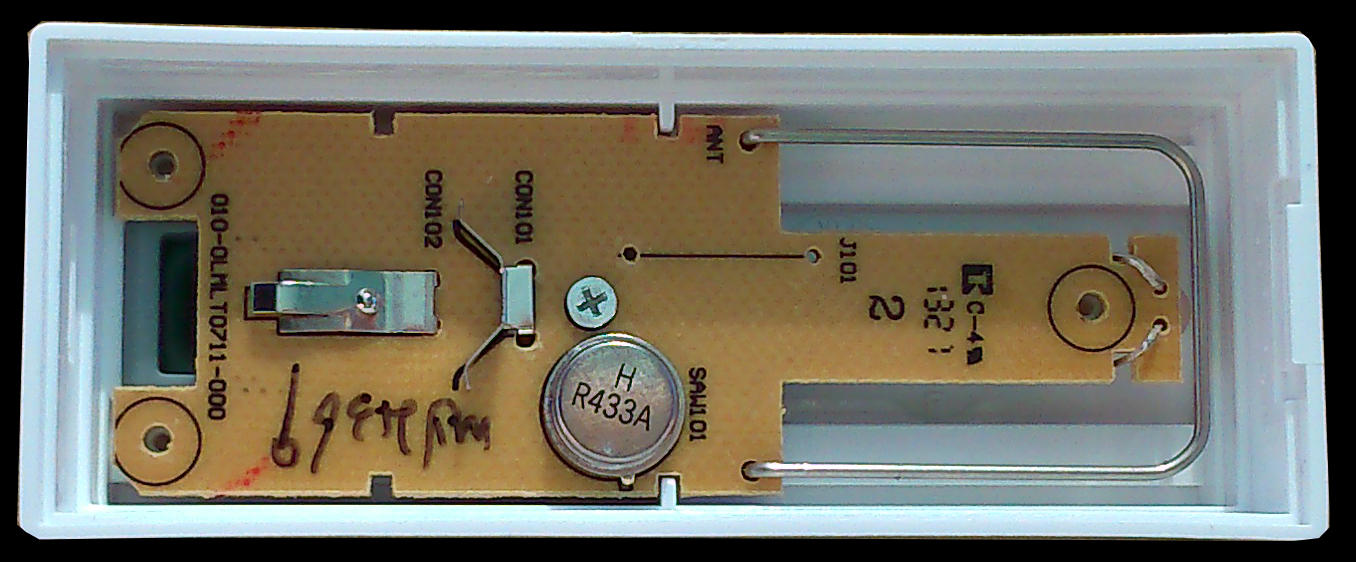
The design of electronics is basic but neat. The PCB is single sided and therefore has no silkscreen on one side (hence the difference in color), this isn’t a problem. The antenna consists of a wire, probably to compensate for the simplicity of the circuit (impossibility to have a printed antenna with a controlled impedance). The button is formed by a carbon contact on the PCB. This is not good news even though the front panel button is normally sealing this contact. You should then take double care about moisture and water infiltration. A LED lights is there to confirm the sending of the command.
The doorbell button works with a CR2032 battery that is properly secured. Changing it is done by removing button from the wall with the lug described above.
Working conditions
Firstly, somes words about the RF range. I was able to have it working at a distance of more than 30m and a concrete wall placed between the transmitter and receiver. This is a good result. One can imagine to locate the doorbell button at the extreme side of your domain, even if the distances are large. I can’t say yet if this distance remains as good during time, with the discharge of the battery.
The manual is wrong on several points:
- there are only 6 types of rings and not 7
- it’s only possible to pair 4 DIO devices with the receiver (instead of the 6 written in the manual)
- the volume setting is not saved for each pairing, it’s global setting for all the ringtones.
Is it so difficult to have a user manual that’s really matching the product?
Regarding ringtones on the receiver, audio level is quite powerful, enough for a two level house. The 6 sounds, good quality sound, available are :
- chime
- Bigben
- piano
- phone
- fowl
- Visual alert only
I would have liked to find a sound of dog barking.
I like also the visual alert : the window size is large enough and the brightness is correct.
Pairing and adjustments are made with three buttons (tone, volume, pairing) and are used without difficulty. The user manual will help you properly for this part.
Integrating with a home automation controller
The following example is going to send the button pressing to eedomus that will re-issue a code to the receiver. With some modifications, you can for example have the ringing only activated at certain period of the day. The eedomus must be equipped with an RFXCOM interface to gain compatibility with the DIO protocol.
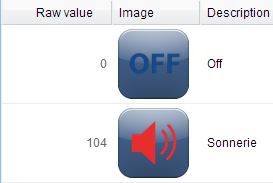
The eedomus controller will detect the availability of a new DIO module when pressing the button. It will propose to create a new DIO actuator. This one must have a value list containing the following entries :
 0 : Off
- 104 : Ringing
We don’t have a OFF switch for this activator, then let’s create a macro that will put it OFF after 10 seconds.

We have then to be able to activate ringer on the receiver side. For that, let’s create manually RFXCOM USB actuator in the page“Configuration” then “Adding a new peripheral”
Each of the peripherals created have to have a different DIO address in the form of : “DEADDEAD:1“, DEADDEAD being a random 32 bits hexadecimal address, unique in your house. When finished, the configuration of the actuator peripherical should look like this :
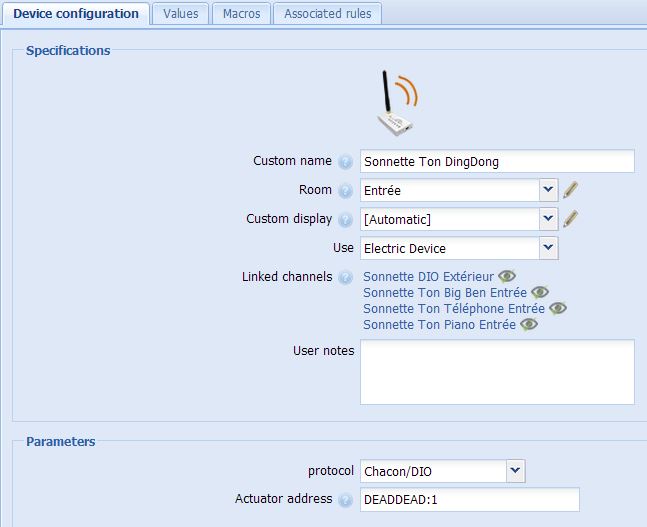
This actuactor may contain also 0 and 104 values. A macro is also created to go back to OFF position automatically :

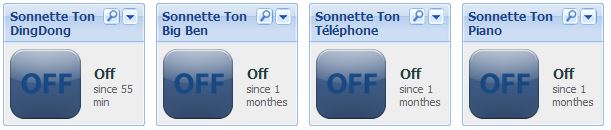
If a single ringer is sufficient, a single actuator is necessary. I’ve chosen to create 4 actuators with 4 different addresses to launch 4 different kind of ringing.
This step done, go back to Chacon receiver to do the pairing process : selection of a ringer, long press of pairing button, then activation of an eedomus activator for the receiver to detect the address that have been selected.
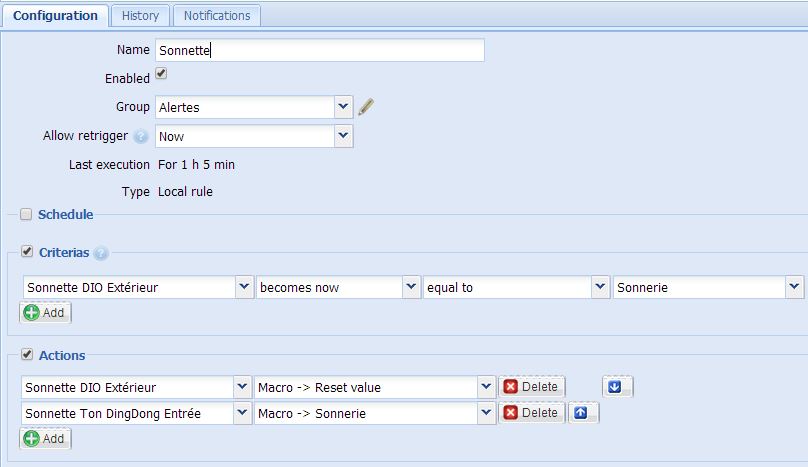
We have now a doorbell button managed by the controller, this controller being also able to activate one or different ringers. We have then just to create the programming side to do the link between both. It’s very easy :
- start of the macro activating ringer then putting back activator to OFF state
- launching of the macro putting back activator for doorbell button to OFF state also.
Feel free to adapt this programming to your own needs !
Security
DIO protocol is a non-secure protocol. This means it can be easily spied and copied. This is what we have done above with our home automation box.
It is not either a protocol with receival confirmation like Zwave. However, this is compensated by RF range.
A doorbell is not a security element, then the use of such a protocol is not a problem. However, be careful not to use the button to enable scripts affecting the integrity of your home (turn OFF the alarm, open the garage door, …)
It’s almost certain that a thief won’t be equipped with tools to hack your electronics. You may be suspicious however, following this article : it should have a side effect to create a generation of cyber-naggers able to activate your doorbell without even coming in front of your door 🙂
Conclusion
This Chacon doorbell can be integrated into a home automation system without any difficulty, if controller is supporting DIO protocol like eedomus. It enables you to create new use cases that can make your life easier.
On the design side there is not much to say about the receiver . The doorbell button have a design that is too basic, its mechanical have a minimum level of protection against bad weather and only in the case of vertical mounting, I regret it.
Let’s have some words also about the price set that is low, then it is a cheap step in home automation.

Bonjour
De temps en temps ma sonnette sonne alors qu’il y a personne à ma porte et bien souvent entre 23h et 2h du matin. Quelque chose à distance pourrait il actionner ma sonnette?
Bonjour,
Oui c’est possible mais peu probable, je m’explique. Le protocole DIO de Chacon est basé sur un émetteur (la sonnette) qui a un identifiant aléatoire, et un carillon qui ne reconnaît que identifiants de sonnette.
Il suffit donc qu’un autre appareil alentours a le même identifiant, ou qu’il émet “par hasard” la suite de code reconnue par votre carillon, pour que votre carillon sonne. Cependant l’identifiant de votre sonnette prend une valeur parmi 67 millions donc la chance que cela arrive est quand même très faible.
A noter que le carillon peut être programmé pour recevoir plusieurs sonnettes. Une chose peut-être à faire et de réinitialiser votre carillon puis le réappairer avec votre sonnette, histoire de supprimer quelques risques de déclenchements intempestifs.
bonjour
je souhaiterai simplement avoir la notice que j’ai égarée du carillon DIO 54730 (rx) je ne me souviens plus comment changer la mélodie
merci d’avance
Après recherche je ne remets pas non plus la main sur la notice. Désolé. Je crois me souvenir qu’il suffit d’appuyer sur une touche sur le côté du carillon lorsqu’il est branché pour changer la mélodie. La touche a un pictogramme de note de musique si je ne m’abuse.
J’aimerai intégré le carillon et le bouton à JEEDOM, je dispose du module rfxcom bien évidement. Pourriez vous m’indiquer la marche à suivre, si cela est possible.
Bonjour,
Ne connaissant pas la box domotique jeedom je ne pourrais vous conseiller. La sonnette utilisant le protocole DIO de chacon vous pouvez vous référer aux articles sur ce protocole avec Jeedom comme par exemple celui-ci : https://www.google.fr/amp/s/domotiquetechnoseb27.com/2015/09/22/plugin-rfxcom/amp
Cordialement
Le carillon peut être actionné par la Zibase: Pour faire reconnaître la sonnerie se mettre en mode basique, créer un nouveau Actionneur, laisser le code proposé. Appuyer sur le bouton Learn du carillon puis cliquer sur “Allumer” (bouton vert) puis sur Assoc
Merci pour cette présentation complète et tutorial. Pour ceux que ça intéresse, j’ai écrit un tutorial l il y a quelques mois sur l’utilisation de ce dispositif dans FHEM : FHEM : sonnette domotisée chacon
Bonjour Vincent Recipon,
Je vous remercie pour ce test complet et très intéressant.
Vous avez bien cerné les problèmes du carillon, en particulier le design et l’étanchéité du bouton qui ont été revus avec le nouveau modèle, tout fraichement sorti il y a quelques mois. Nous offrons un design plus moderne pour ce nouveau produit (toujours la même référence), tant au niveau carillon qu’au niveau du bouton. Aussi, nous offrons une protection étanche supplémentaire au bouton, afin de pouvoir le positionner horizontalement sans rencontrer aucun problème d’étanchéité.
Je vous invite à le découvrir sur notre site: http://eshop.chacon.be/index.php/kit-carillon-enfichable-sans-fil-dio-twi.html
Quant à la notice, nous nous excusons du désagrément, certains points ayant été modifié en cours de production. Tous ces éléments sont désormais adaptés dans la nouvelle notice (nouveau produit).
Très cordialement,
Valérie